
How to build a recurring checklist
Create a daily, weekly, or monthly checklist, build out its items, set the readings that should flag as irregular, and assign it to the staff who run it, so the same checks happen every shift without relying on memory. This is for owners and store managers setting up a store's routines.
Before you start
- Where: Store-level (web)
- Permission: Manage Checklists
- Available by default to: Owners and Store Managers. (On custom roles, this needs the permission named above.)
- You must have: Roles and positions set up for your store if you want to assign the checklist to one.
Create the checklist and set its schedule
- Open Checklists, then select Setup to open the checklist setup list.
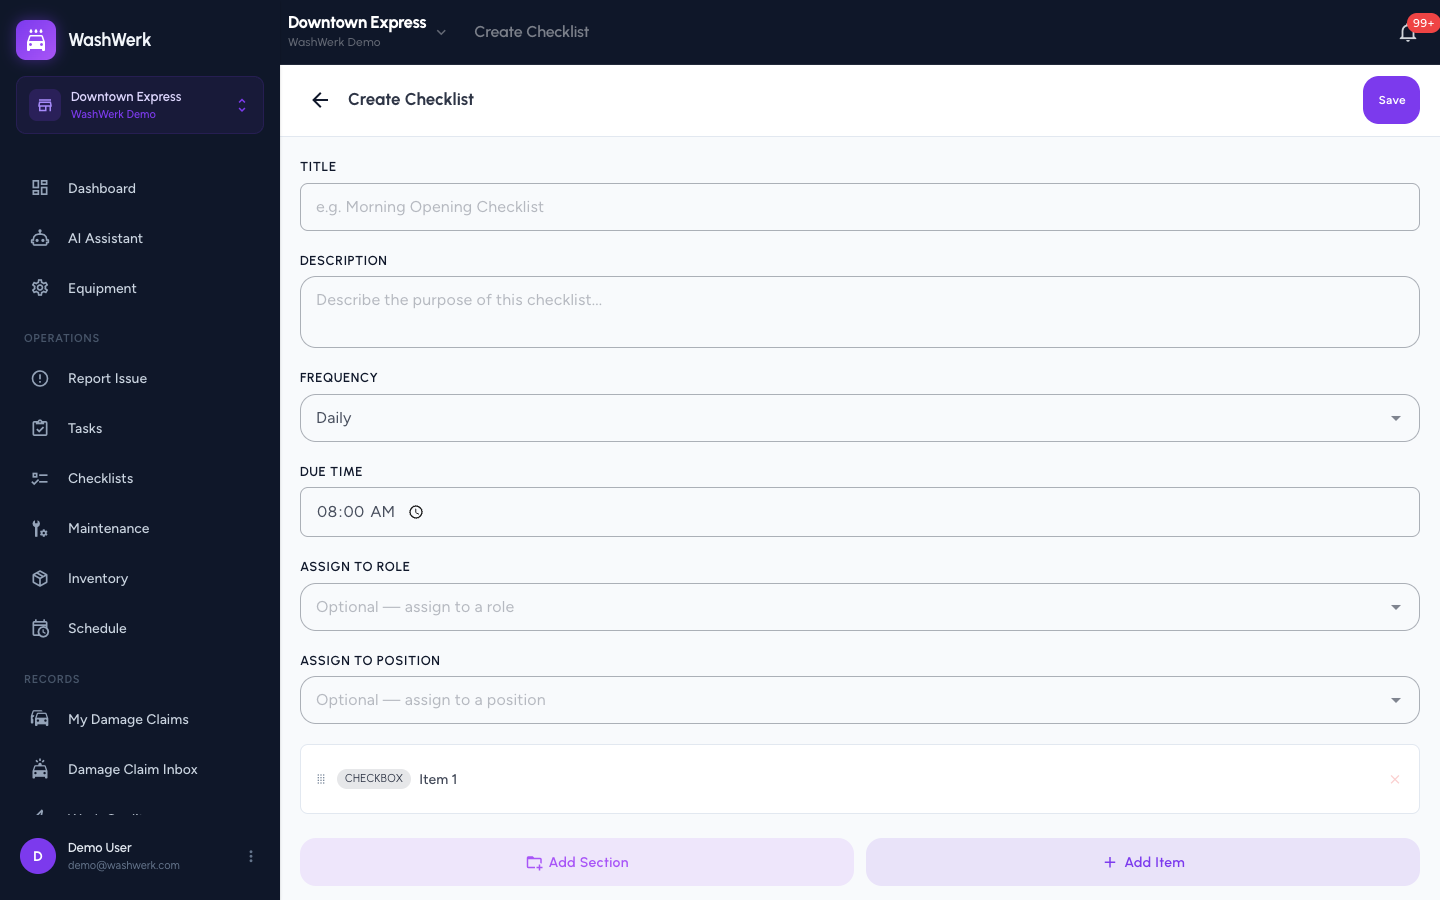
- Select New Checklist. The create form opens.
- Enter a Title (for example,
Morning Opening Checklist) and an optional Description. - Choose a Frequency — Daily, Weekly, or Monthly — and set the Due Time. For Weekly, also pick a Day of Week; for Monthly, set a Day of Month.
Add and configure items
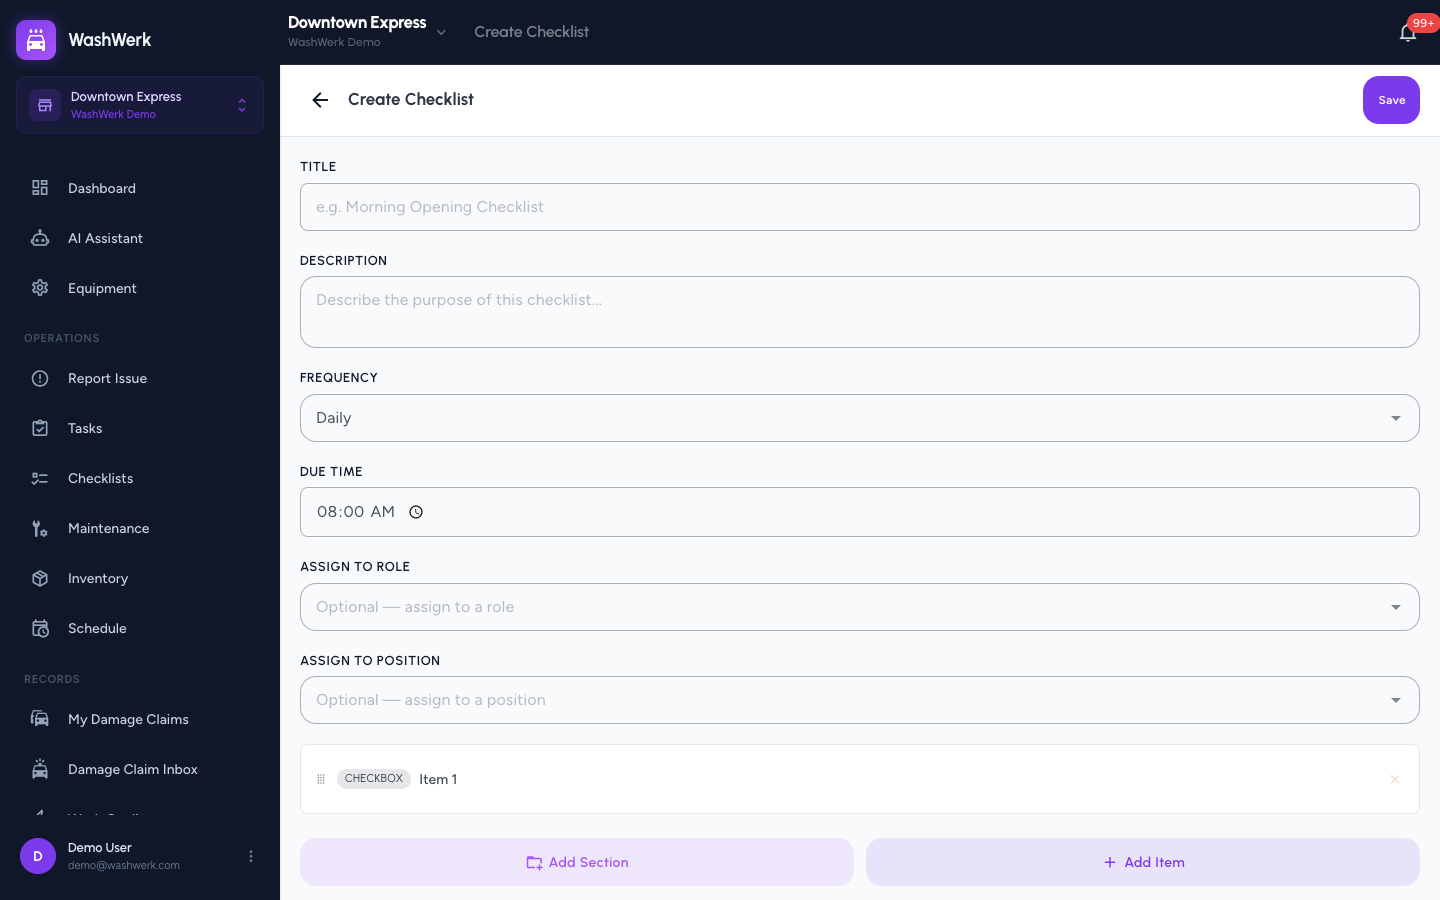
The item builder starts with one empty item. Select an item's row to open its inline config panel.
- Select Add Item to add a row, or select an existing row to configure it.
- In the config panel, enter the item Label and choose a Type: Checkbox, Number, Text, Photo, Dropdown, or Multi-Checkbox.
- For a Dropdown or Multi-Checkbox item, select Add Option for each choice, then type the option text. Select the alert icon next to any option to mark it irregular so that choice raises a flag when selected.
- For a Number item, enter a Unit (for example,
PSI), then turn on Set acceptable range and enter Min and Max. Readings outside that range flag as irregular. - For a Text item, turn on Flag keywords as irregular and enter comma-separated Keywords (for example,
broken, leak, damaged). A response containing any keyword flags as irregular.
Group, reorder, and remove items
- Optional: Select Add Section, name it, and the section groups the items that follow it. Assign an existing item to a section using the Section dropdown in its config panel.
- To reorder, drag an item by its drag handle to a new position.
- To remove an item, select the X on its row. (You can't remove the last remaining item.)
Assign and save
- Optional: Set Assign to Role to send the checklist to everyone with that store role.
- Optional: Set Assign to Position to send it to staff in that position.
- Select Save to create the checklist. It starts appearing on its schedule for the staff who run it.
Expected result
The new checklist appears in the setup list marked Active, showing its item count, schedule, and any assigned role or position. The first time it's due, it shows up in the assignees' Due Today list.
Troubleshooting
- If saving fails with "All checklist items must have a label": One or more items have an empty label. Open each item and enter a label, then save again.
- If the checklist never appears in anyone's Due Today list: Confirm you assigned it to a role or position that has active staff, and that the due time has passed for the current period.
- If an acceptable range never flags: Re-open the number item and confirm Set acceptable range is on and Min is below Max.