
How to gather evidence and communications on a claim
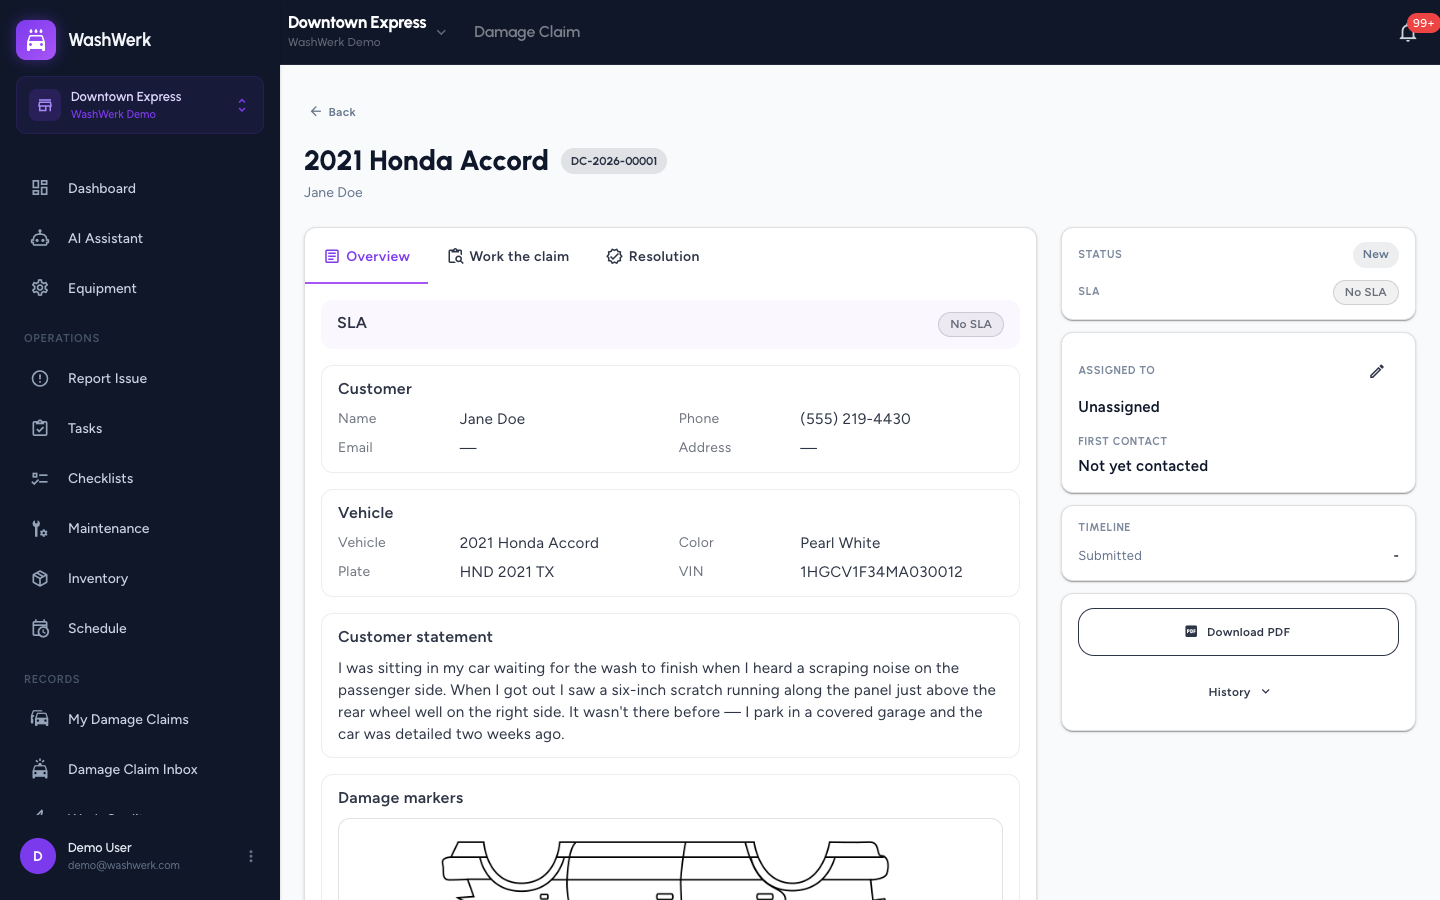
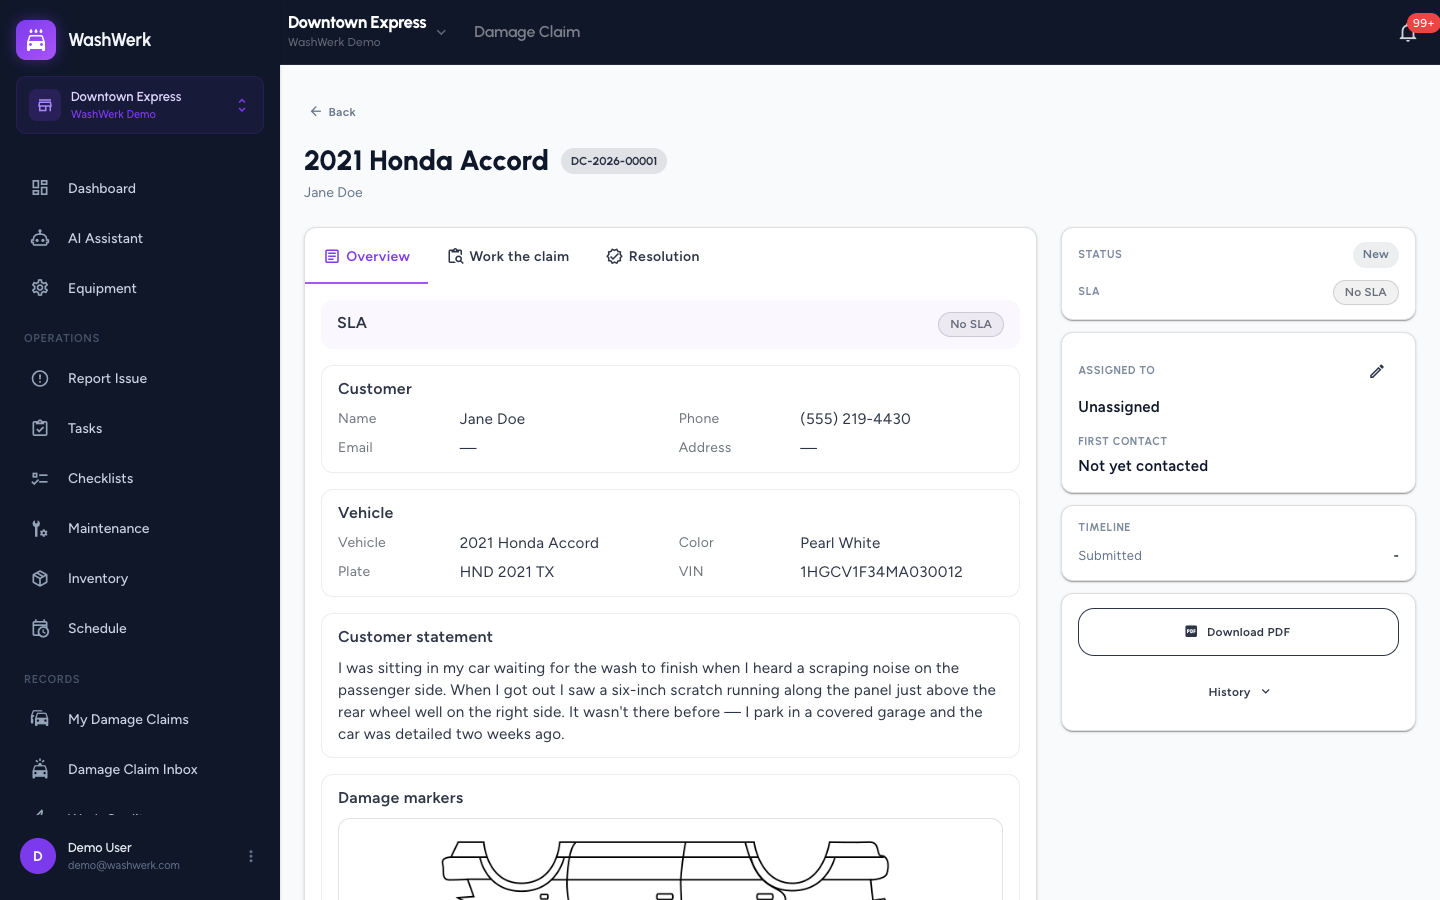
Add the evidence and contact history that supports your decision on a damage claim: extra photos, video footage references, document attachments, and a communication log. Recording your first outbound contact stops the response clock. This is the store manager's evidence-gathering workflow on the Work the claim tab.
Before you start
- Where: Store-level (web).
- Permission: The Close Damage Claims permission (the same permission that opens the claim inbox).
- Available by default to: Owners and Store Managers. (On custom roles, this needs the permission named above.)
- You must have: an open claim in your store. Open it from the inbox and select the Work the claim tab — Evidence sits on the left, Communications & investigation on the right.
Add manager photos
- In the Evidence column, under Photos, select Add photo.
- Optionally type a caption, then select Take photo to capture with the camera. The photo joins the claim's photo grid.
- To remove one, open the photo and delete it from the viewer.
Add a video footage reference
A footage reference points to recorded camera video — it records where the clip lives, not the video file itself.
- Under Footage references, select Log footage.
- Enter the Camera ID (for example,
bay-3), set the Start and End date and time, and optionally add a local filename and notes. - Select Log footage. To remove a reference, select the trash icon on its row.
Attach a document
- Under Attachments, select Upload.
- Choose a PDF or image (up to 20 MB), pick a Document type — Body shop estimate, Legal letter, Insurance correspondence, Guarantor form, or Other — and optionally add a description.
- Select Upload. To remove one, select the trash icon on its row.
Log a communication
- In the Communications & investigation column, under Communication log, select Log communication.
- Set the direction (Inbound or Outbound), pick a channel (phone, email, SMS, letter, in person, or other), enter the participant name and role, set when it happened, and write a summary.
- Select Log. To remove an entry, select the trash icon on its row.
Mark the customer contacted
- If first contact hasn't been recorded, select Mark customer contacted in the communication log header, confirm the channel, time, and a note, then select Mark contacted. This logs an outbound contact to the customer and stops the response clock — the sidebar's First Contact updates.
Expected result
Each item appears in its section with a live count at the top of the Evidence column (photos, attachments, footage clips). Once you mark the customer contacted, the First Contact field in the sidebar shows who made contact and when, and the response-clock prompt disappears.
Troubleshooting
- If the "Mark customer contacted" button isn't shown: first contact is already recorded, or the claim is closed. The button only appears while a claim is open and uncontacted.
- If a document upload is rejected: the file must be a PDF or image under 20 MB. Re-export or compress it and try again.
- If footage won't save: the camera ID, start, and end are required, and the end must be on or after the start.