
How to set up single sign-on (SSO)
Let your team sign in with their work Google, Microsoft, or other company sign-in accounts so they skip separate WashWerk passwords and you control access from one place. This is for owners and company admins setting up centralized sign-in: you connect your sign-in provider, prove you own your email domains, then turn single sign-on on for your company.
Before you start
- Where: Corporate view — Single Sign-On lives in your corporate Settings.
- Permission: The Configure SSO permission to connect a provider, run a test, and turn SSO on; the Manage SSO Domains permission to add or verify email domains; and the View SSO permission to see the setup and the sign-in history.
- Available by default to: Owners and Company Admins. (On custom roles, this needs the permission named above.)
- You must have: A sign-in app already set up with your provider (such as Google Workspace, Microsoft Entra, Okta, or Auth0) so you have the two access keys it gives you, and the ability to change your domain's DNS settings to add a verification record. Most companies have someone in IT who handles this — work with them if you're unsure.
The provider form saves as you go, so you don't have to save each field. You add and verify a domain, finish the activation checklist, then switch SSO on.
Open the Single Sign-On settings
- From the corporate menu, open Settings, then Single Sign-On. The page shows sections for your sign-in provider, verified domains, group rules, activation, and recent sign-in activity.
Connect your sign-in provider
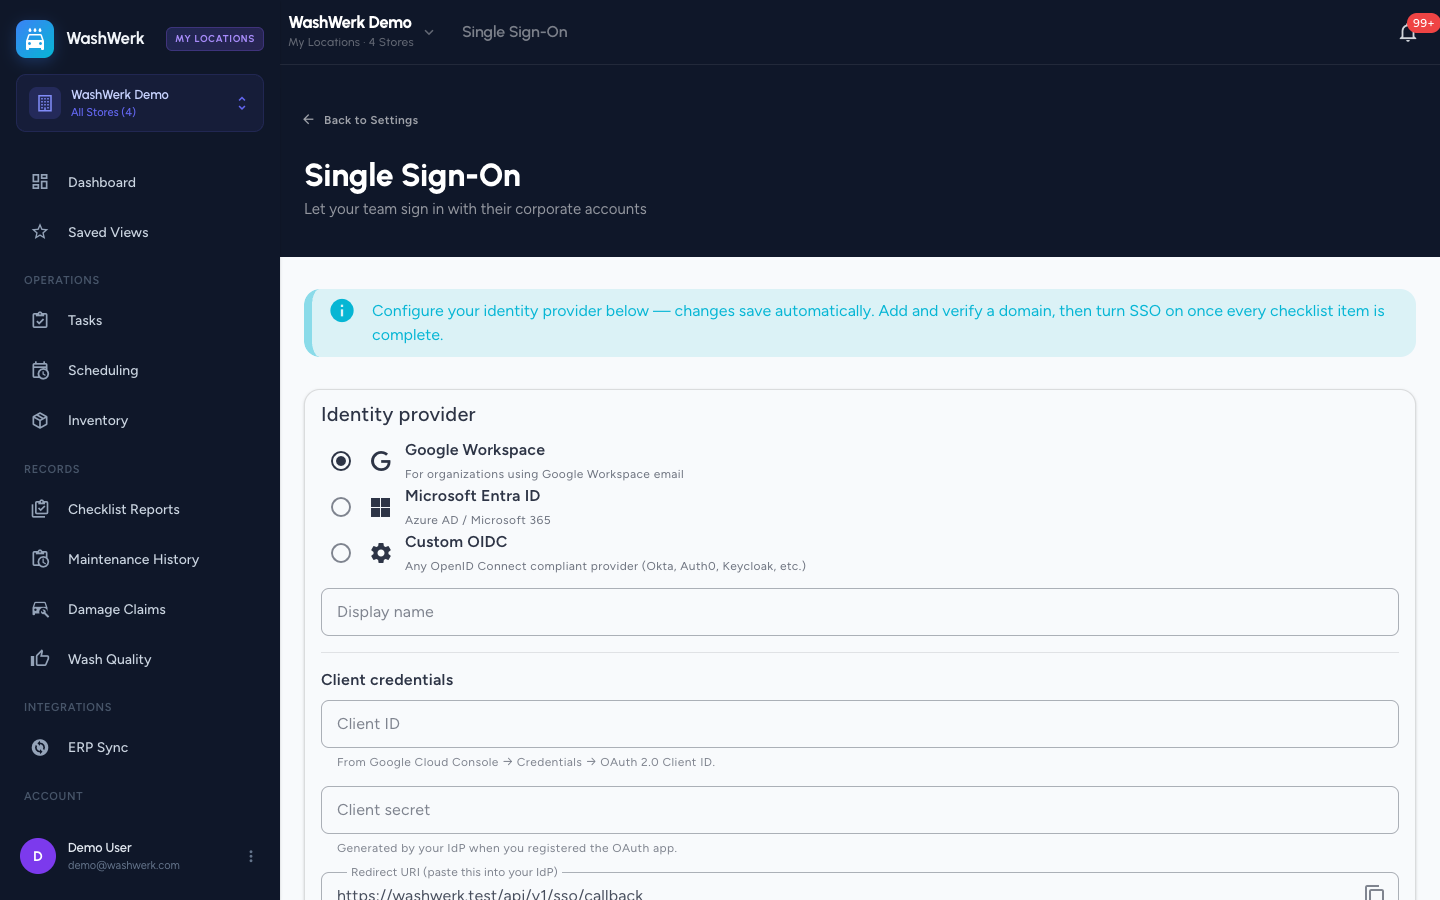
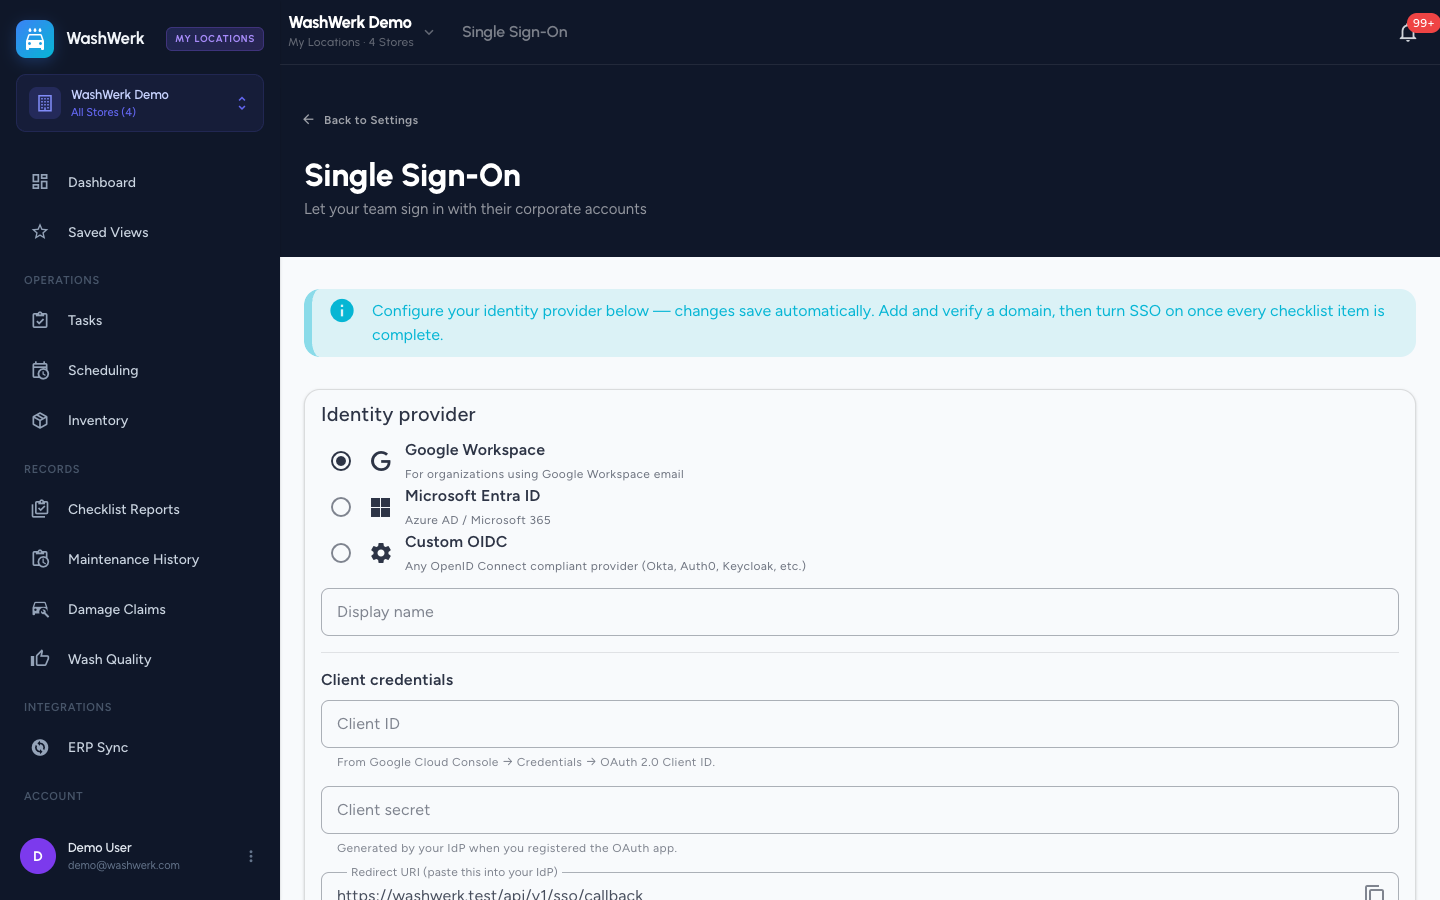
- In the Identity provider section, select your provider: Google Workspace, Microsoft Entra ID, or Custom OIDC for any other provider. Google and Microsoft fill in their own settings for you.
- If you chose Custom OIDC, enter the setup web address your provider gives you. WashWerk lets you know if the address isn't valid.
- Enter a Display name — this is the label on the sign-in button your team sees on the login screen.
- Enter the two access keys from your provider's sign-in app: the Client ID and the Client secret. Once saved, the secret shows as dots; select Edit if you ever need to replace it.
Copy the return address into your provider
- Find the Redirect URI field, then select the copy icon to copy the address.
- In your provider's sign-in app, add this exact address to its list of allowed return addresses and save it there. Sign-in won't work until your provider allows this address.
Set the default role and account details
- Under Default role, choose the role every person gets when they sign in, unless a group rule below applies to them first.
- Under User field mapping, confirm which details WashWerk reads from your provider for each person's name, email, and profile picture. The defaults work for Google and Microsoft — only change them if your provider sends these details under different names.
Choose how strictly to require SSO
- Optional: turn on Require SSO for users with verified email domains so that anyone with an email at a verified domain must sign in through your provider instead of a password. Company owners keep their password sign-in as an emergency way back in; everyone else at those domains must use single sign-on.
- Leave Require verified email from IdP turned on (recommended). Only turn it off if your provider doesn't confirm whether each person's email has been verified.
- Select Save all to save any pending changes right away.
Add and verify your email domain
- In the Verified Domains section, select Add Domain, enter a domain you own (for example
acmewash.com), and select Add domain. - In your domain's DNS settings, add the verification record shown in the window: set the host to
@, the type to TXT, and the value to the one WashWerk generated. Use the copy icon to copy the value exactly. If you're not comfortable editing DNS, this is a good point to involve your IT contact.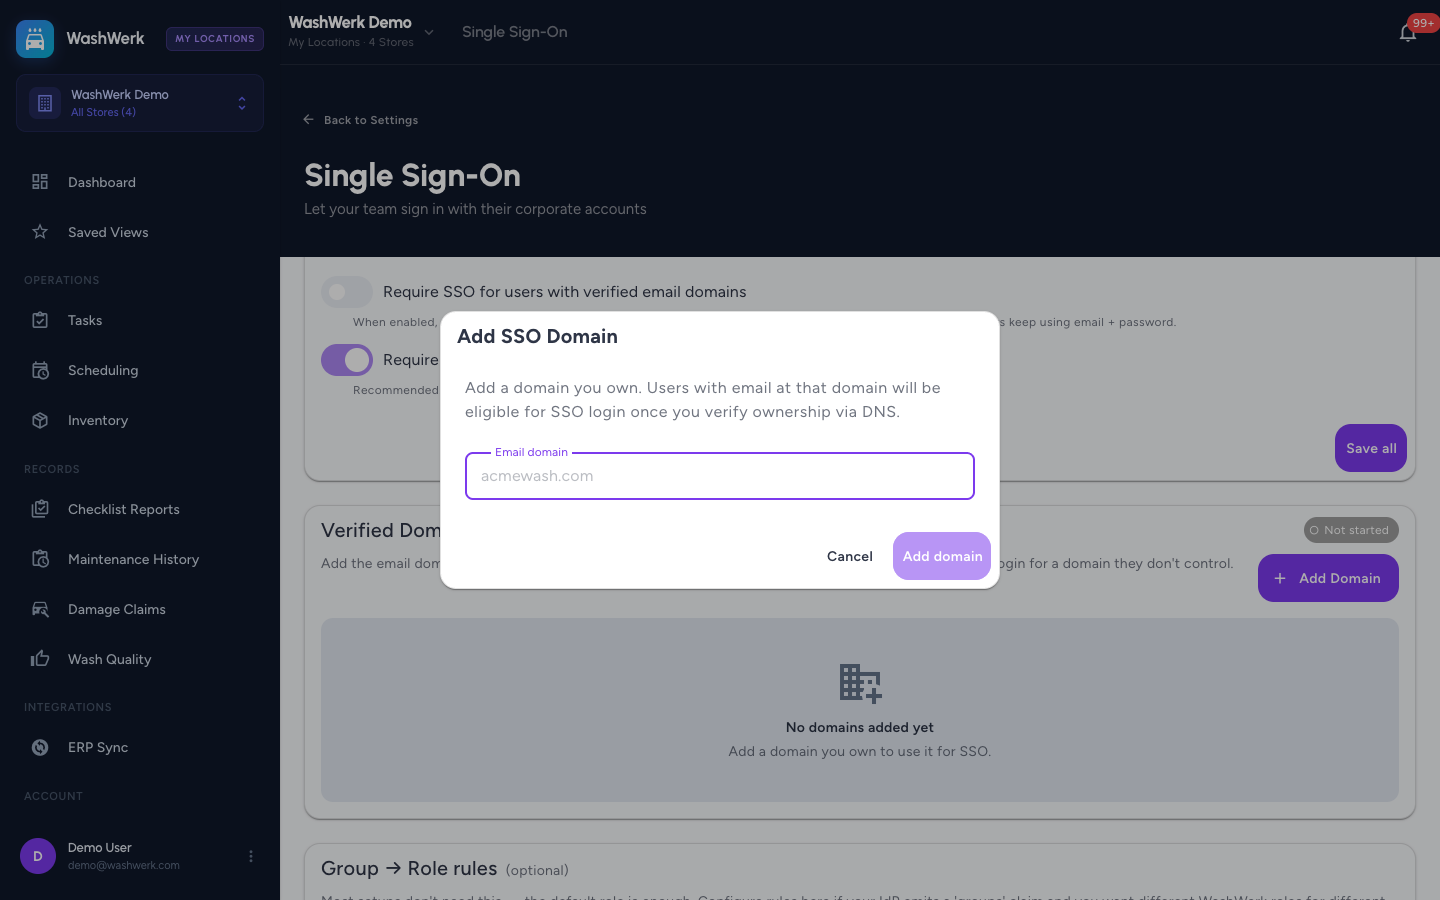
- After adding the record, select Verify now (or Verify on the domain's row later). DNS changes can take up to an hour to take effect; the row changes from Pending to Verified once WashWerk finds the record.
To remove a domain, select Remove on its row and confirm. People at that domain can no longer use single sign-on right away.
Optional: give different roles to different groups
Most setups only need the default role. If your provider sorts people into groups and you want each group to get a different WashWerk role:
- In the Group → Role rules section, select Add rule (available once you've set a default role).
- Enter the group name from your provider and pick the WashWerk Role for it. Your changes save when you move to the next field.
- Drag the handle to reorder rules — they're checked from top to bottom, and the first one that matches wins.
- To delete a rule, select the trash icon on its row.
Test and turn on SSO
- In the Activation section, select Test SSO to run a trial sign-in. WashWerk opens your provider in a pop-up window and shows you what it received, which role the person would get, and which details would be filled in — without actually creating anyone's account.
- Confirm every item in the Activation checklist has a green check: provider connected, access keys set, domain verified, and default role set.
- Turn on Enable SSO sign-in for this company. This switch stays unavailable until the checklist is complete.
To turn SSO off later, come back to this section and switch Enable SSO sign-in for this company back off.
Expected result
The Activation section shows a Done status, the sign-in button with your display name appears on the login screen, and both successful and failed sign-in attempts are listed under Recent SSO Activity. Use the refresh icon there to pull the latest attempts.
Troubleshooting
- If the enable switch stays greyed out: one or more checklist items aren't finished yet. Complete the missing one — most often a domain still showing Pending or a default role that hasn't been set.
- If a domain stays Pending after you verify it: the DNS record hasn't taken effect yet, or its value doesn't match. Re-check the value against the one in the window and select Verify again in a few minutes; the row shows the last error it ran into.
- If the test or a sign-in fails with a return-address error: the return address in your provider doesn't match. Copy the Redirect URI field again and paste it into your provider's allowed return addresses.
- If you're locked out after requiring SSO: sign in as a company owner with your email and password — owners can always get in this way as an emergency path.