
How to investigate, decide, and close a damage claim
Triage incoming damage claims from the inbox, open one to assess it, record an accept-or-deny decision, and close it. You can later reopen, reassign, export the list, or download a claim PDF. This is the store manager's end-to-end resolution workflow.
Before you start
- Where: Store-level (web).
- Permission: The Close Damage Claims permission to open the inbox and decide claims. Reopening a claim needs the Reopen Damage Claims permission; reassigning needs the Reassign Damage Claims permission.
- Available by default to: Owners and Store Managers. (On custom roles, this needs the permission named above.)
- You must have: at least one submitted claim in your store.
Browse and filter the inbox
- From the store sidebar, open the damage claims Inbox. Status cards (with the accepted / denied outcome breakdown) and a trend chart sit above the claims table.
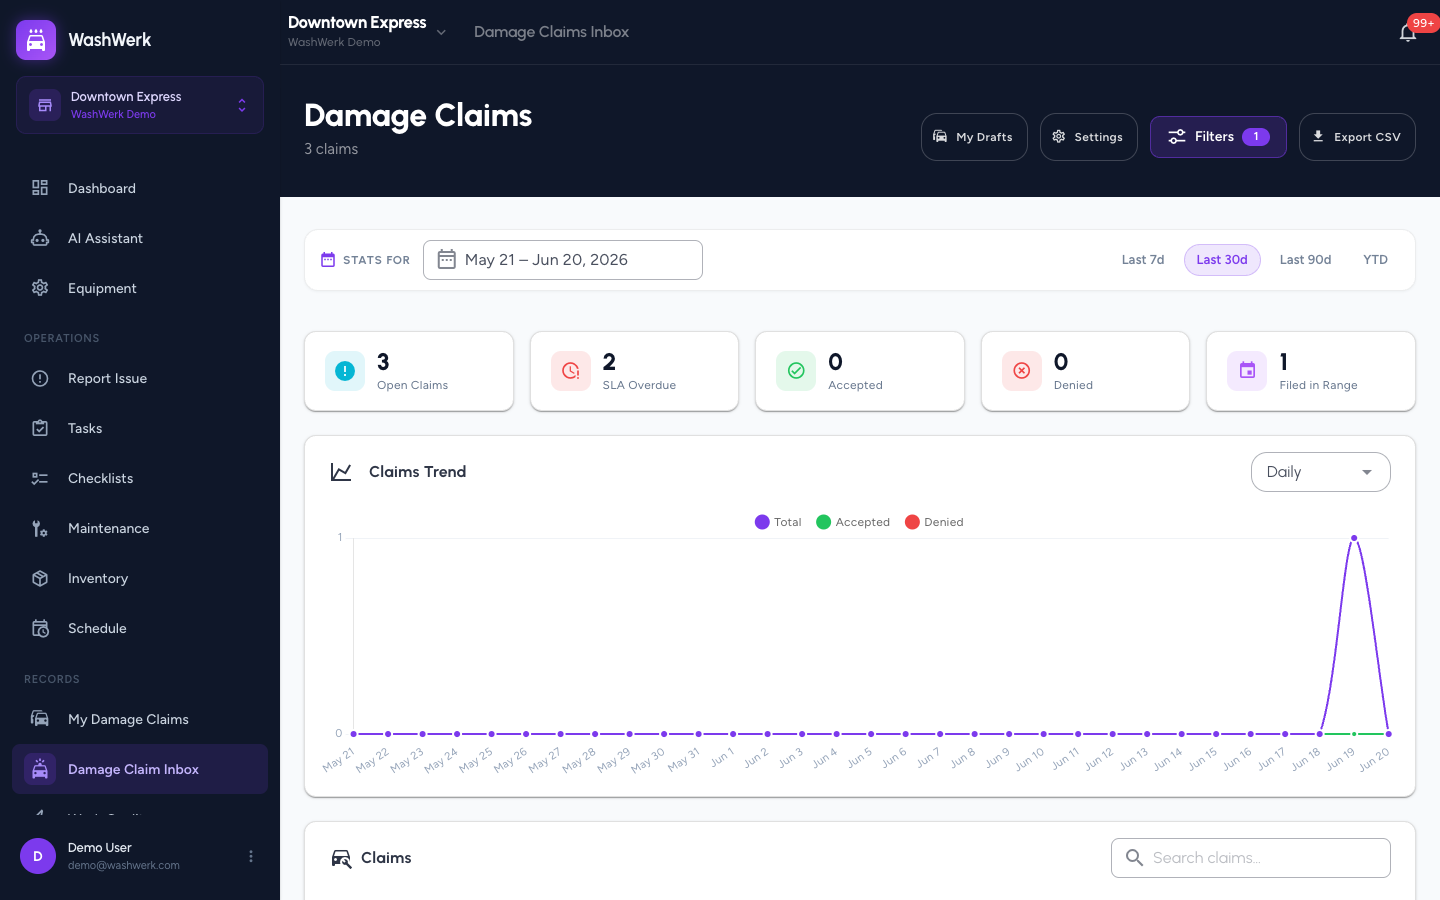
- To scope the stats, set the Stats for date range or pick a preset (Last 7d, Last 30d, Last 90d, YTD). Change the chart's granularity from the trend chart's own control.
- To narrow the table, select Filters and choose a status, outcome, or date range, then apply. A badge on the button shows how many filters are active.
- To find a specific claim, type a name or claim number in the Search claims box above the table.
- Optional: select Export CSV to download the current claims list.
Open and read a claim
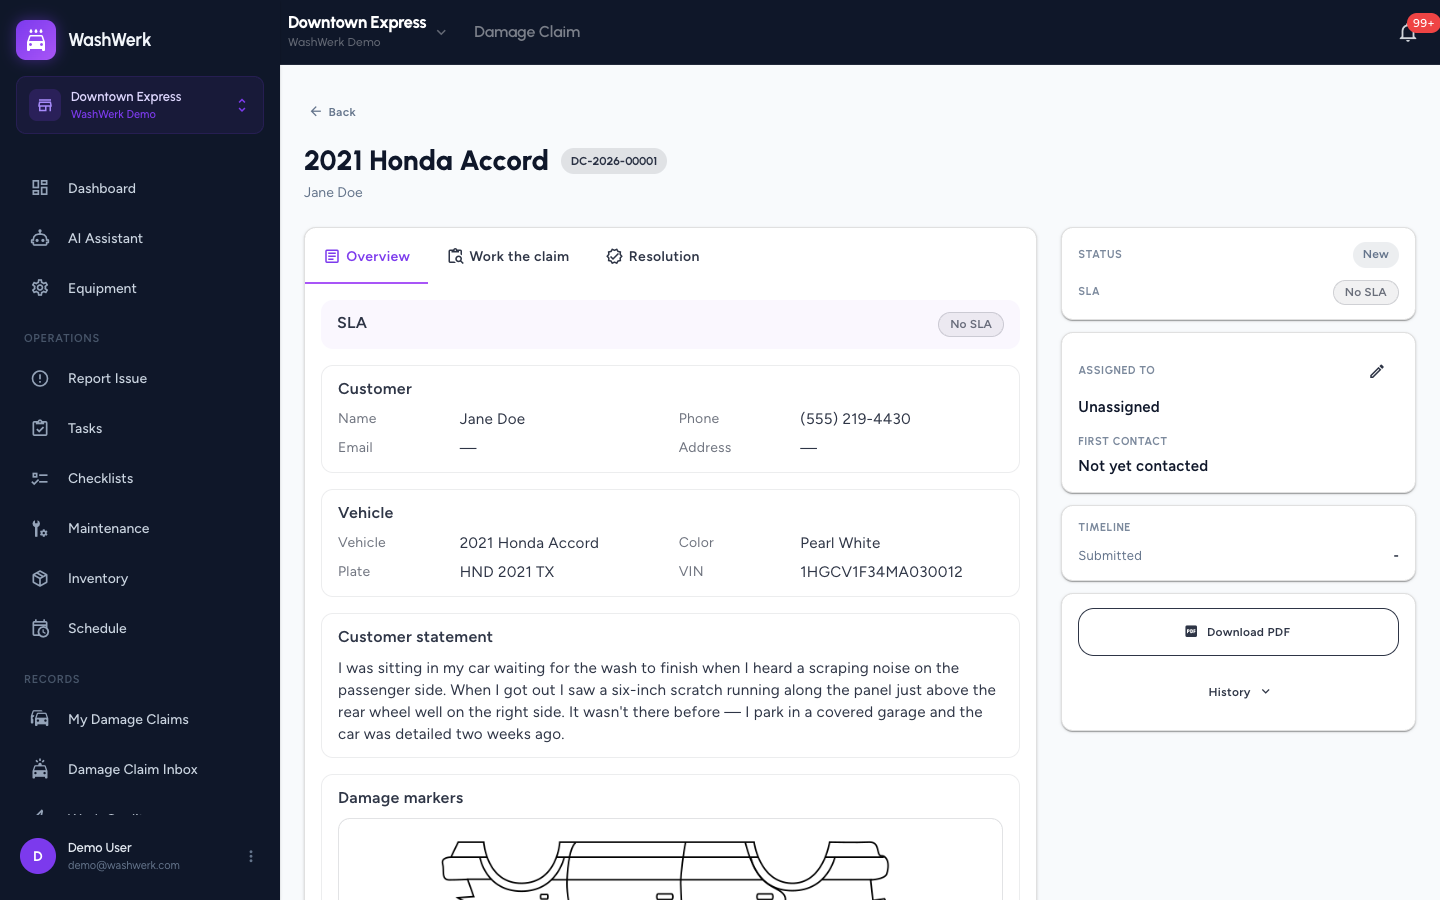
- Select any row in the claims table to open the claim detail. The left column has three tabs — Overview, Work the claim, and Resolution — and the right column is the status sidebar.
- Read Overview for the submitted vehicle, customer, incident, and photos. Use Work the claim to review evidence and the investigation thread (covered in How to gather evidence and communications on a claim).
Assess and decide
- On the Resolution tab, select Accept claim or Deny claim.
- Fill in Assessment (your findings) and Resolution (what was decided). Both are required to close. The tab autosaves each field on blur — watch for the Saved indicator.
- If you accepted, optionally enter a Cost. If you denied, optionally pick a Disclaimer cited (configured in settings).
Close the claim
- Select Close claim, then confirm in the dialog. This finalizes the decision and records the resolution.
Reopen, reassign, or download
- Reopen: open a closed claim and select Reopen in the header. The decision becomes editable again.
- Reassign: in the sidebar, select the pencil next to Assigned To, choose another manager (they must have the Close Damage Claims permission), and select Reassign.
- Download PDF: in the sidebar, select Download PDF for a printable record of the claim.
- View history: in the sidebar, select History to expand the audit log — every submit, edit, reassignment, reopen, and close, with the actor and time.
Expected result
A closed claim shows a Closed status and its outcome (Accepted or Denied) in the sidebar and on the Resolution tab, and the close event appears in the History audit log.
Troubleshooting
- If Close claim stays greyed out: you must pick an outcome and fill both the Assessment and Resolution fields. The button enables once all three are set.
- If the Disclaimer cited list is empty: no disclaimers are configured. Add them in Settings → Damage Claims (see the configuration guide).
- If the inbox shows an access error: your role doesn't include the company-wide damage claims permission needed for the corporate view — ask an owner or manager, or open the claim from your own store instead.