
How to connect your ERP for inventory sync
Connect WashWerk to your company's ERP system so your inventory items, vendors, and stock movements stay in sync automatically instead of being keyed in twice. This is for owners and company admins whose company runs inventory in an ERP like Oracle Fusion.
When to use this
Set this up when your ERP should be the system of record for inventory — once connected, ERP-owned fields become view-only in WashWerk; skip it if you'd rather manage inventory directly in WashWerk.
Before you start
- Where: Corporate view — ERP connections live in the corporate area of WashWerk.
- Permission: The Configure ERP Sync permission to create and set up a connection, plus the Reconcile ERP Sync permission to finish the last step that switches it on.
- Available by default to: Owners and Company Admins. (On custom roles, this needs the permission named above.)
- You must have: The sign-in details for your Oracle Fusion ERP account (the web address WashWerk should connect to and the four access keys your ERP administrator provides), plus at least one store to link. You can connect one ERP per company.
Open the ERP connections screen
- From the corporate menu, open Integrations, then ERP. If you haven't connected an ERP yet, the screen is empty with an Add Connection button.
Start the setup steps
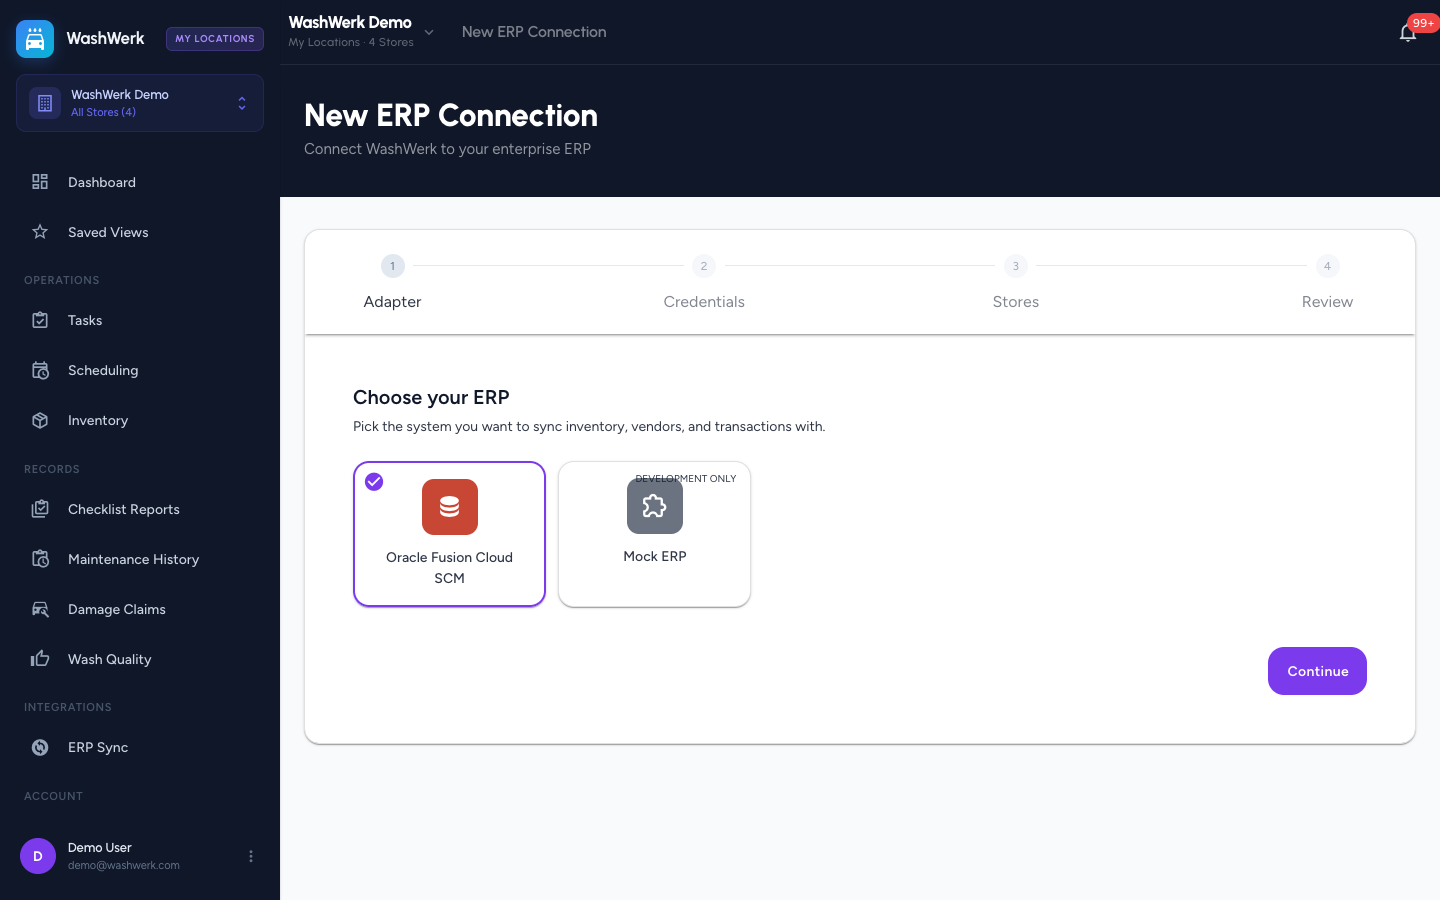
- Select Add Connection. WashWerk walks you through four steps: choosing your ERP, entering your sign-in details, linking your stores, and a final review.
Step 1 — Choose your ERP
- On the first step, select Oracle Fusion Cloud SCM as your ERP.
- Select Continue.
Step 2 — Enter and test your sign-in details
- Enter a Connection name so you can recognize it later (for example, "Production Fusion").
- Enter the ERP web address and the four access keys your ERP administrator gave you.
- Select Test Connection. WashWerk checks that the details work with your ERP before saving anything. A confirmation appears when the test passes.
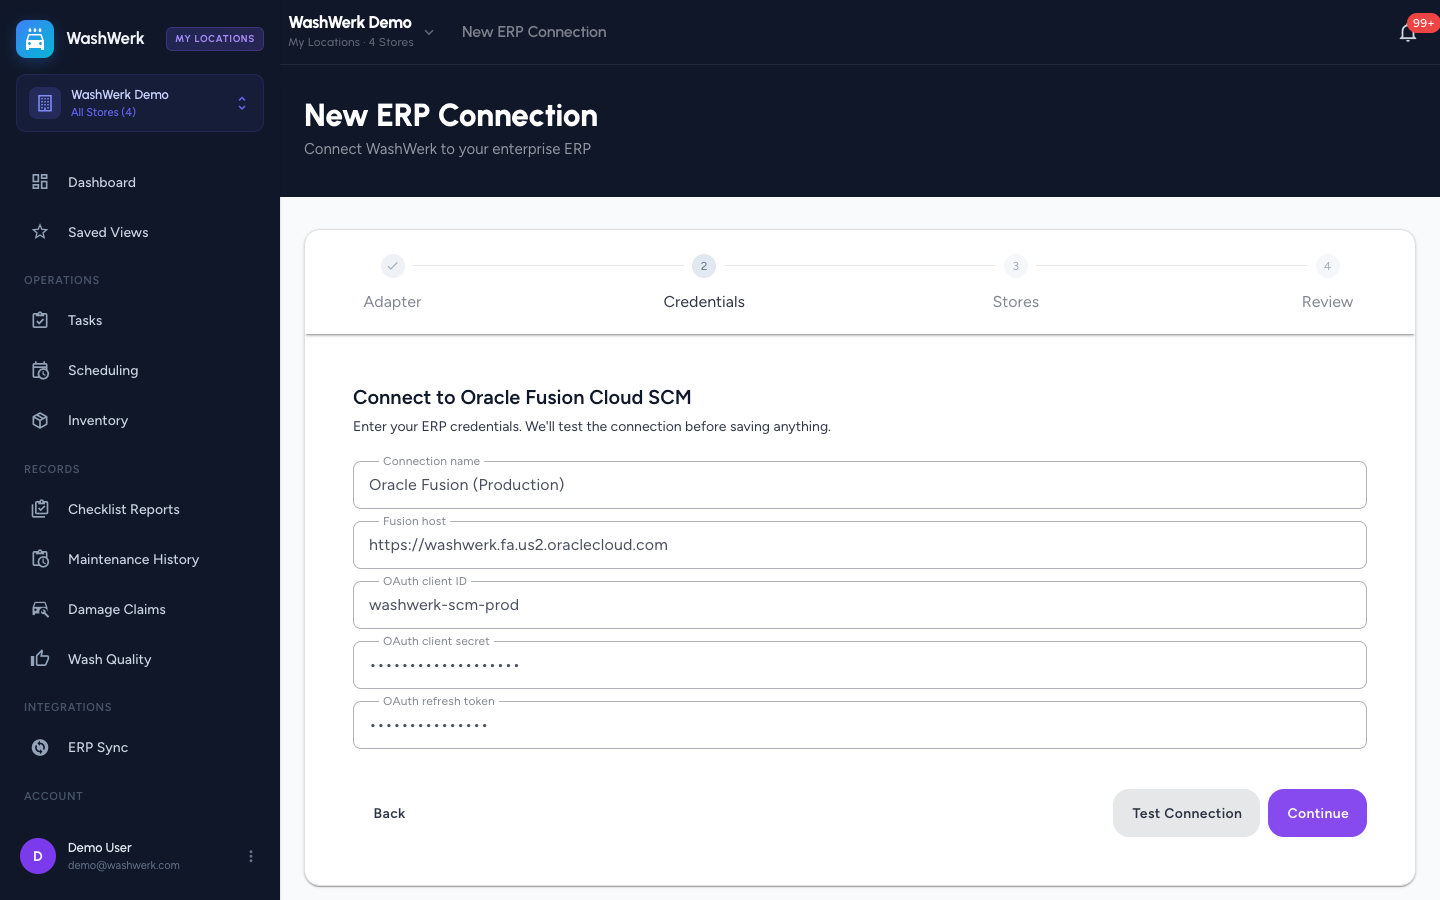
- Select Continue. This button stays unavailable until the test has passed.
Step 3 — Link your stores
- On the stores step, WashWerk pulls the list of inventory locations from your ERP.
- For each WashWerk store, select the matching inventory location in your ERP. Leave a store blank to keep it out of the sync.
- Select Continue.
Step 4 — Review and finish
- On the review step, check your ERP, the connection name, and how many stores will sync.
- Review the estimate for the first sync — how many items and vendors will be pulled in and how many links will be created.
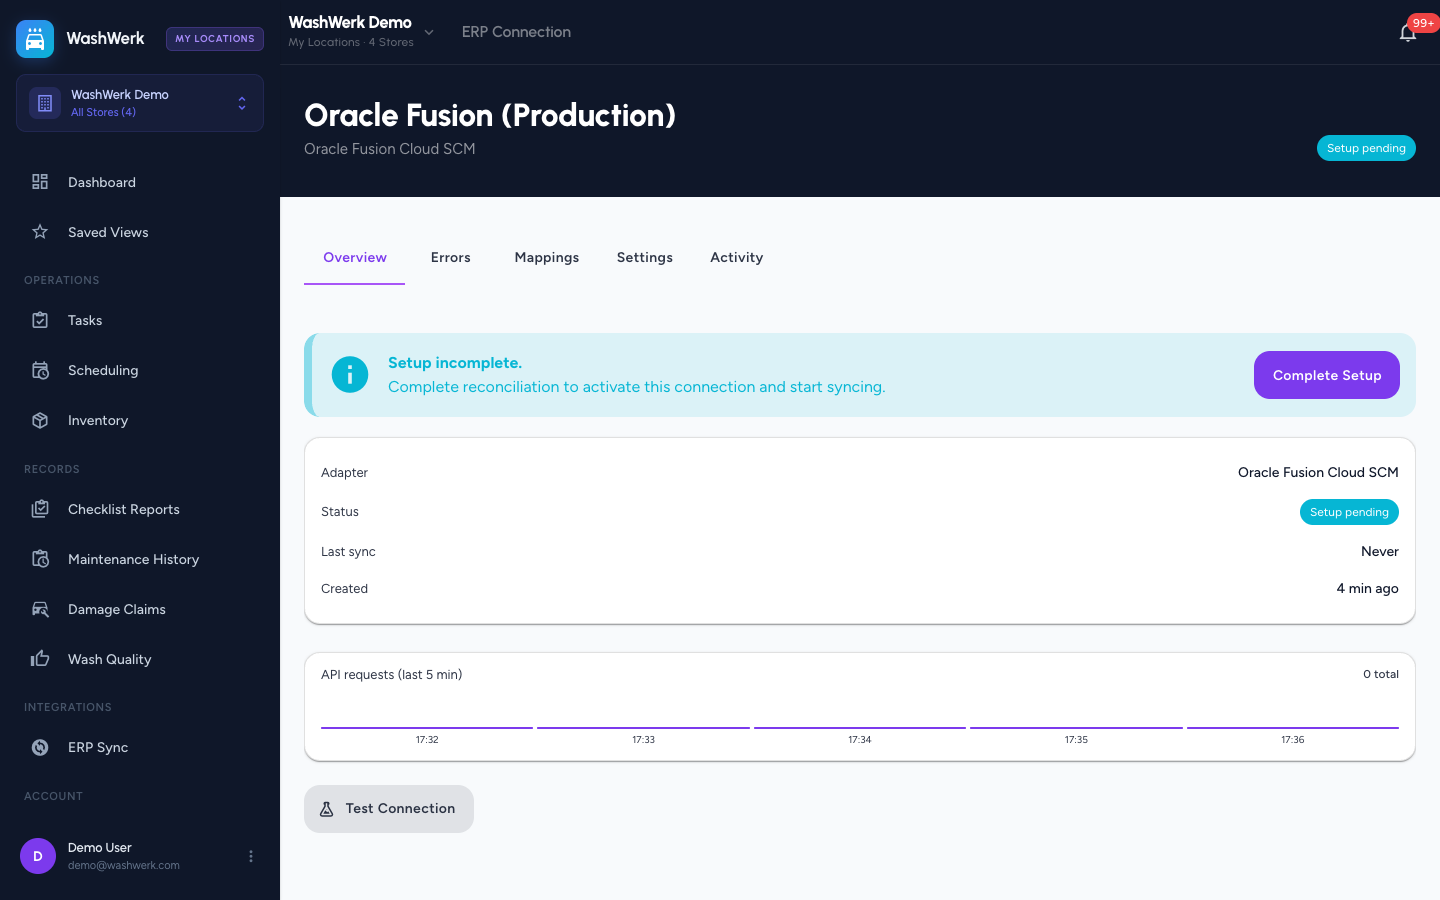
- Select Finish Setup. WashWerk saves your choices and opens the connection's detail screen with the status set to Setup pending.
Run the matching check to switch it on
- On the connection's Overview tab, a "Setup incomplete" banner appears. Select Complete Setup to open the matching window.
- WashWerk compares your WashWerk items against the items in your ERP. You can leave any unmatched items to be matched up on the next sync, or select Mark all "no match" to keep them in WashWerk only and never send them to your ERP.
- Select Activate & start syncing. The status changes to Active and the first sync begins.
Expected result
The connection shows an Active status, the Overview tab shows a recent "Last sync" time, and your inventory items, vendors, and stock movements start appearing, now linked to their ERP records. Any fields that the ERP owns become view-only in WashWerk.
Troubleshooting
- If the connection test fails: double-check the ERP web address and the four access keys, and confirm with your ERP administrator that the account has access to inventory data. The message tells you what went wrong (for example, a sign-in problem or a connection problem).
- If no inventory locations appear on the stores step: your ERP account may not have the right access, or the test wasn't run. Re-check the details, or skip this step and link your stores later from the connection's Settings tab.
- If you're sent back to the connections list: a connection already exists. You can connect one ERP per company — disconnect the existing one first from its Settings tab.