
How to manage vendors
Keep your supplier list current so you can link vendors to inventory items and reach the right contact when reordering. This guide is for store managers and owners.
Before you start
- Where: Store-level — Inventory module, Vendors tab
- Permission: Manage Inventory
- Available by default to: Owners and Store Managers. (On custom roles, this needs the permission named above.)
- You must have: A store selected.
Add a vendor
- Open Inventory in the store sidebar and select the Vendors tab.
- Select New Vendor (top right). The vendor form opens.
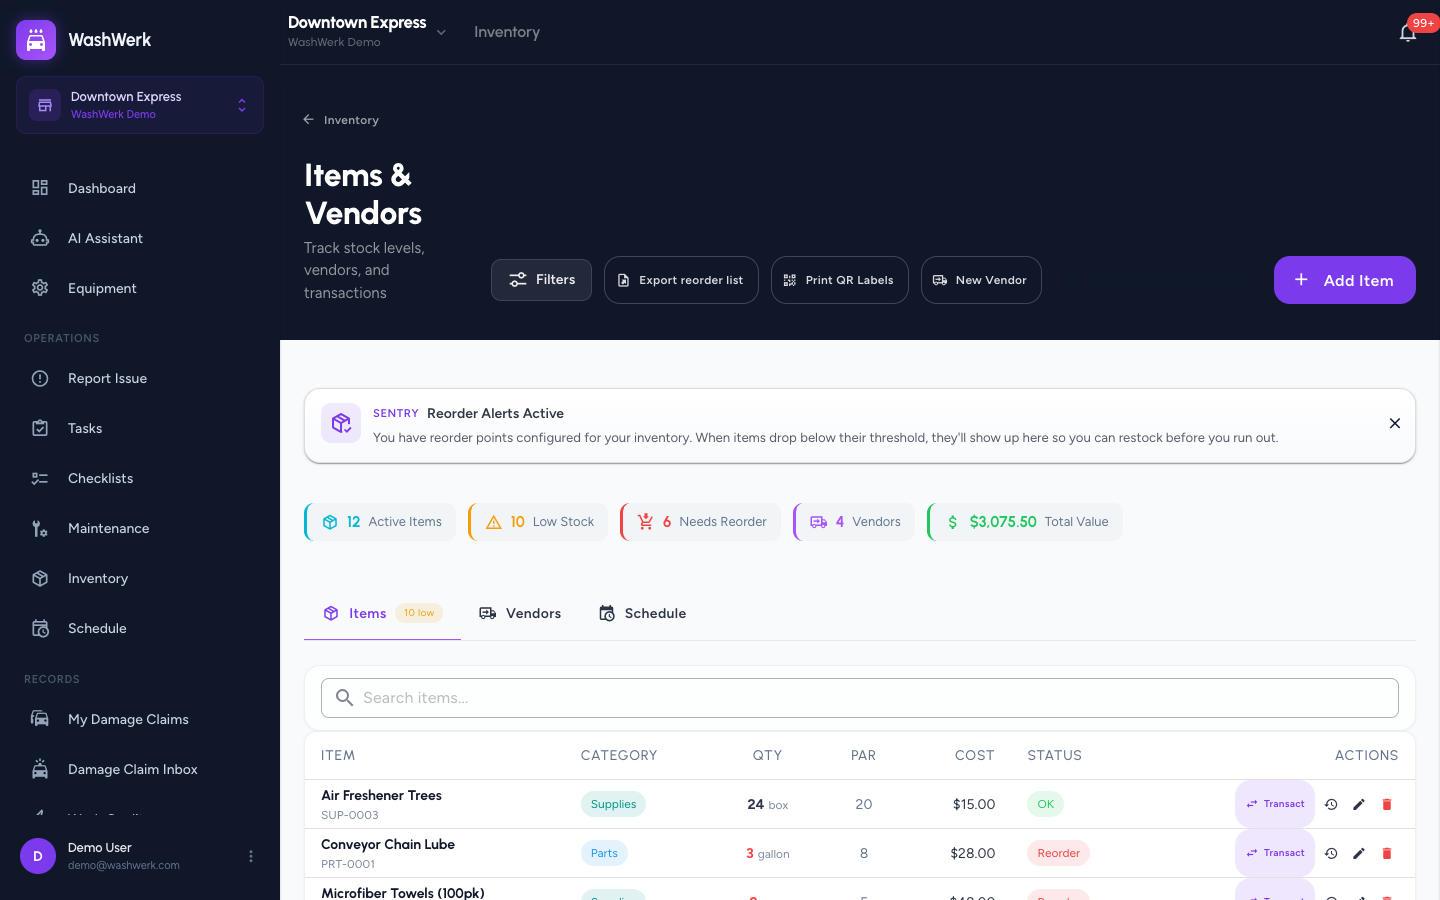
- Enter the vendor Name (required), and optionally a Contact name, Email, Phone, Address, and Notes.
- Select Save. The vendor appears as a card in the Vendors grid.
Edit a vendor
- On the Vendors tab, find the vendor card and select the pencil (edit) icon.
- Update any field, then select Save. The card reflects your changes.
Delete a vendor
- On the vendor card, select the delete (trash) icon.
- In the confirmation dialog, select Delete. The vendor is removed from the list.
Search vendors
- On the Vendors tab, type in the Search vendors box. The grid filters by vendor name, contact name, or email as you type.
Expected result
The vendor you added or edited shows in the Vendors grid with its contact details, and you can select it as the vendor when adding or editing an inventory item.
Troubleshooting
- If the New Vendor button is missing: Your role doesn't include the Manage Inventory permission — ask an owner or manager to grant it.
- If you see a message that vendor management is turned off: Your company keeps its suppliers in a connected outside system. Manage the vendor in that system instead, and it will appear here.